
Cleaning a Dryer Vent: A Straightforward Homeowner Guide
Every time a clothes dryer spins a load of towels, sheets or jeans, it pushes a fine cloud of lint, dust and hair out the back of the machine. Over months of weekly use, that material packs itself into the flexible ducting behind the dryer until airflow is a fraction of what it should be. Plenty of Australian homes run a tumble dryer year-round, and a lot of them have never had the exhaust duct touched.
A clogged dryer vent is more than an efficiency problem. Lint sitting in a warm exhaust duct is fuel sitting next to a heating element, and restricted airflow makes the machine run hotter and hotter. House fires caused by lint build-up in dryers are common enough in Australia and overseas that insurers and rental agents take the issue seriously.
The good news is that cleaning a dryer vent is an ordinary weekend job. It needs a vacuum, a long brush, a pair of gloves and about forty minutes of unhurried work. No specialist equipment, no dangerous chemicals and no need to pull the machine out into the driveway. You can do it with the family still in the house.
This guide covers how to spot a vent that needs attention, what type of system you actually own, the safest way to work through the ducting, and how to keep the whole thing in good shape once it is clean.
Why a Blocked Dryer Vent Is a Fire Risk
When a duct is heavily restricted, the dryer has to work much harder to move the same volume of air. That means longer cycles, a hotter element and a hotter exhaust duct. Scorched lint gives off an acrid, plastic smell that is hard to miss, and in a neglected machine that build-up can ignite and spread through the duct into the roof space.
There are also warning signs that appear weeks before anything gets serious: clothes that need a second spin to come out dry, a dryer that trips the breaker, a lint trap filling up in a single load, or a vent flap at the back of the machine that barely opens when the dryer starts. If you notice any of these, get the duct cleaned.
Costs add up quietly too. A restricted vent can add twenty or thirty minutes to every cycle, and with power prices what they are, running an extra cycle or two each week adds up across a year. Australian households that keep the dryer going through a wet Melbourne or Sydney winter end up paying for the moisture they are trying to remove.
Know What You Are Actually Working With
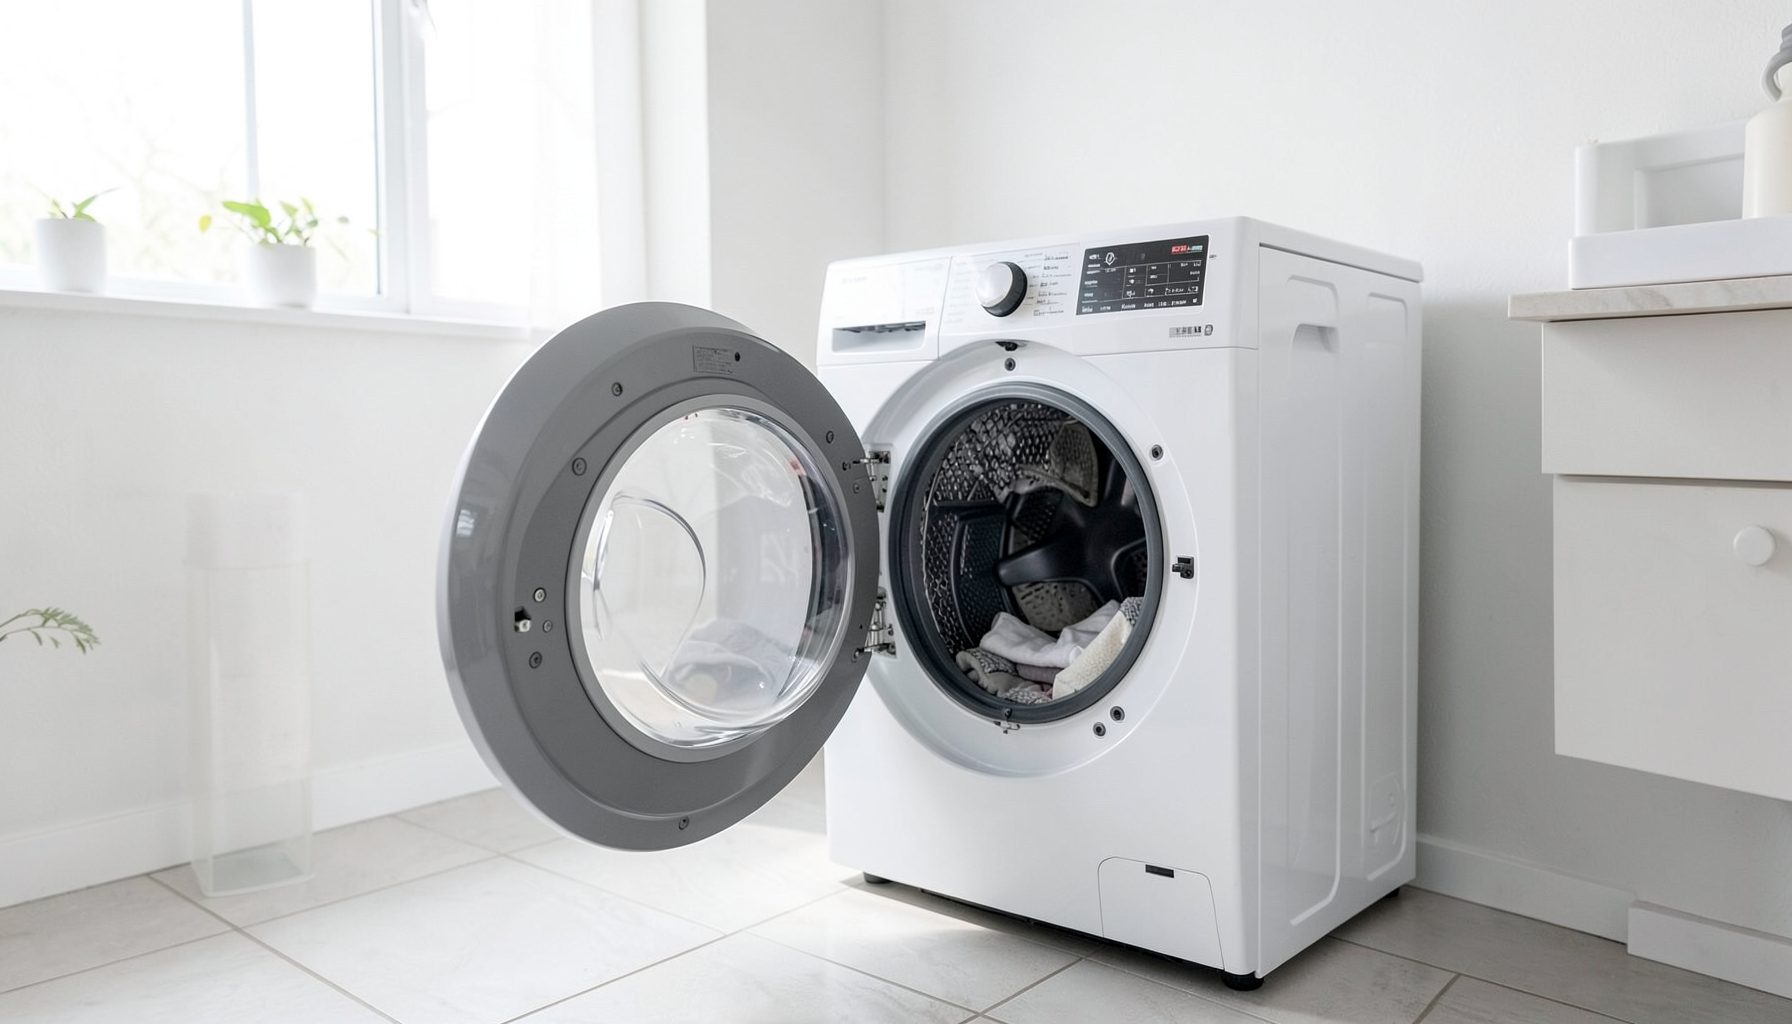
Not every dryer has an exhaust duct. Many newer machines in Australia are heat-pump models that recirculate air through the drum and condense moisture into a tank that you empty. Those machines have no duct to clean, only a filter to pull and a water reservoir to empty. Check the back of the machine and the model number before you buy a duct brush.
Older and mid-range vented models are different. The exhaust typically leaves through a length of flexible aluminium ducting, a semi-rigid plastic tube, or a rigid metal duct run through the roof space and out under the eaves. Some installations travel several metres before they reach the outside. Flexible ducting that has been squeezed behind the machine or kinked during a renovation is the most common cause of restricted airflow, because the tube collapses under its own weight.
Take a look at where the duct exits the house. A wall-mounted hood on the side of the building is easy to reach. A vent that discharges into the roof space or under the eaves is a bigger job, and one that needs a proper roof ladder rather than a step stool. Photograph the existing setup before you start pulling anything apart, because knowing exactly how the ducting was routed makes reassembly far easier.
Tools, Safety and a Few Australian Wrinkles
Unplug the dryer at the wall and switch off the circuit breaker before you open anything up. Never work on a machine that is still connected to power, even with the door open, because some dryers hold residual heat for a long time and the element can stay live for a period after a cycle.
You want a vacuum with a crevice nozzle or a long hose extension, a soft-bristled dryer vent brush, a small vacuum brush for the drum, and a screwdriver for the duct clamp. A pair of gloves and eye protection are worth wearing, because fine lint gets everywhere. A leaf blower or a compressed air line is not a substitute: both push the debris deeper into the duct rather than bringing it out, and compressed air can damage flexible ducting.
Old installations deserve extra caution. Some houses from the 1970s and 80s used flexible ducting wrapped in fibreglass insulation that becomes brittle and crumbles when handled. If the duct flakes apart, smells musty, or looks like crumbling insulation, stop and get a specialist to assess it rather than pulling hard on it. And if your dryer shares a run with a bathroom or kitchen exhaust, note that now, because it will need reconnecting in the right order.
Cleaning the Lint Trap and the Drum
Start at the easiest end. Slide out the lint trap, usually a small screen or a mesh panel on the front or top of the drum. Wash it in warm soapy water, rinse it, and let it dry completely before it goes back in. A dryer works properly only when the trap is clean, and a rinsed trap that still feels fuzzy will keep collecting a load in one cycle.
Next, open the door and vacuum the drum, the back of the drum and the door seal with the soft brush attachment. Wool and fleece from winter jumpers and blankets produce a surprisingly heavy build-up, so spend a little time on the bottom of the drum where the lint settles.
Pull the dryer forward and vacuum underneath it, along the rear panel and around the motor housing. A surprising amount of lint accumulates in the gap between the machine and the wall, which is usually why a vent that looked fine from the outside turns out to be packed inside. Check the feet and the anti-vibration pads while you are down there, and make sure the machine is sitting level.
Working Through the Ducting
Loosen the duct clamp at the back of the dryer and gently twist the duct off the outlet. You will get a sense of the problem immediately from the airflow, and often from the smell.
Vacuum from the machine end first, using the crevice tool and working the hose along the full length of the run. Then go outside and open the external hood, which is usually held in place by a spring or a screw. Reach in with a long vent brush, ideally a rotating chimney-style brush on a drill, and work the debris back toward you rather than pushing it further in.
Be careful with powered rotating brushes in flexible aluminium ducting. They can scratch and split the tube, and a damaged duct will leak moisture into your ceiling space. If the duct feels soft and fragile, a long vacuum hose and a hand brush are gentler and just as effective. Some people coil a length of flexible hose and push it through the run, which works well on long straight stretches.
Before you reconnect everything, check the duct for punctures, tears or crushed sections, and replace any perished clamps. Seal joints with foil tape or a proper duct clip rather than gaffer tape, and refit the machine to the same position so the duct is not stretched or squashed.
The Outside Vent and the Rest of the House
The external hood is where most blockages hide. Eucalyptus and gum leaves pack into the flap, spiders build webs across the opening, and native birds like to nest in sheltered vents under the eaves. Push the flap open and check whether it swings freely; a stuck or broken flap will not open properly when the dryer runs, and a replacement flap is inexpensive and easy to fit.
Hose the hood down with a gentle spray, working the water through so debris runs out rather than into the tube. Avoid a high-pressure jet, which can drive water into the duct and create a damp patch in the roof space. While you have the ladder out, check the outlet for leaves and twigs and trim back any branches that hang over it.
Other fittings around the house collect dust and grime on the same weekend. If the ceiling fan in the room is rattling or wobbling while it runs, there is a guide to fixing a wobbly ceiling fan that fits neatly into the same afternoon of checks and clean-ups.
A Maintenance Routine That Sticks
A cleaned dryer vent stays clean only if somebody keeps an eye on it. The lint trap is the cheapest and most effective preventive measure there is: emptying and rinsing it once a month keeps the machine running at full airflow and stops most debris from ever reaching the duct. If your dryer takes noticeably longer than it used to, that is the signal to pull the trap and check the outside hood.
It is also worth putting a note in your tenancy or maintenance folder, especially if you rent. Agents and property managers in Sydney, Melbourne and Brisbane regularly check vent condition during end-of-lease inspections, and a clean, clear duct removes an entire line of questioning. Plenty of people prefer to have a specialist do the messy roof-space work, and vent cleaning in Australia usually costs somewhere around $150 to $300 depending on access and duct length.
For more practical jobs around the house, the home maintenance guides cover plumbing leaks, tree planting, pest control and water damage in the same straightforward style.
Here is the one thing to do next: wash and refit the lint trap tonight, then put a recurring reminder in your phone for the first Saturday of every month to pull the trap, empty the drum and glance at the outside hood. Twenty minutes on the first Saturday of the month is the cheapest fire prevention available to a homeowner, and it takes a dryer vent from a hidden risk to a non-issue.