How to patch a hole in drywall
A hole in an interior wall can make a small impact feel like a major defect, especially where a chair, door handle or ball has struck the surface. Repairing it properly means restoring a firm, flat base rather than covering the opening with a thick lump of filler. The finished repair should support paint and look consistent with the surrounding room.
Learning how to patch a hole in drywall is manageable for most Australian homeowners, although the wall construction still matters. Many detached houses use timber frames with plasterboard lining, and brick veneer homes have the same internal wall finish. Use “plasterboard” when shopping, since that is the usual term in Australia.
Identify the cause and extent
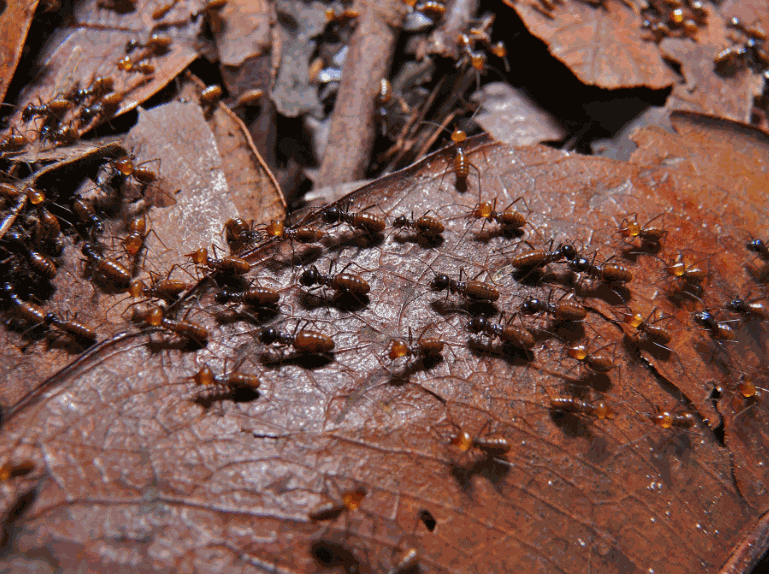
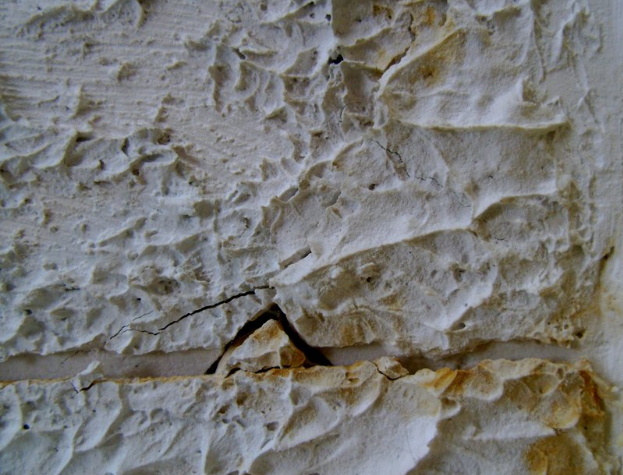
Start by pressing gently around the opening. A firm edge and clean break usually indicate simple impact damage. Soft, stained or crumbling material suggests water damage, mould or another underlying issue that should be addressed before the hole is patched. Do not seal over evidence of termites or repeated damp; find and resolve the source first.
Check whether the wall has hollow-sounding areas, movement or exposed insulation. If cracks and hollow patches extend well beyond the hole, the job may require opening a larger section. For general checks around the home, the home maintenance guidance offers useful context on warning signs that deserve attention before cosmetic repair.
Before cutting, switch off the relevant circuit and use a voltage detector where services may run through the cavity. Older Australian homes can have unusual cable routes, so never assume a wire is absent. Locate pipes, insulation and framing with a detector and inspection opening if the area is uncertain.
Prepare the opening safely
Clear furniture away, lay a sheet or drop cloth on the floor, and wear eye protection and a suitable dust mask. A vacuum with a brush attachment helps control gypsum dust, which becomes airborne easily. Keep children and pets out of the room while cutting and sanding.
Measure the hole at its widest point and mark a neat, square or rectangular cut around it. Small nail holes may only need filling, while a torn or missing edge needs a firm support. Straighten ragged paper with a utility knife and remove loose gypsum without enlarging the damage unnecessarily.
Use a drywall saw, keyhole saw or fine plasterboard saw for a controlled cut. Make shallow passes with the blade and support the waste piece so it does not fall into the cavity. Work slowly near cables or pipes, and stop as soon as the outline is complete.
Choose the right backing
The repair method depends on the size and condition of the surrounding board. A small hole with sound backing may accept mesh and compound, but it must not become a weak crater. Larger holes need new plasterboard or another solid base that holds the filler rather than letting it sag.
For a hole smaller than about 25 mm, filling with compound may be enough if the edges are intact. Between roughly 25 and 50 mm, self-adhesive drywall mesh can support a skim coat. Larger gaps generally need a cut piece of plasterboard fixed securely to framing or a timber backing piece.
Australian plasterboard commonly comes in 1200 by 2400 mm sheets, so a single large panel is rarely necessary. A small piece cut from a sheet bought at Bunnings or Mitre 10 is usually more practical. Australian buyers may also see the trade name Gyprock, while “drywall” remains common in imported guides and product descriptions.
Cut and secure the patch
Cut the replacement plasterboard to sit slightly behind the wall face, with an overlap of at least 25 mm onto sound material where possible. Test-fit it before fastening. If the opening reaches a stud or batten, push the patch into the cavity and mark the fixing points through the board.
Secure the patch with drywall screws at roughly 150 to 200 mm intervals around its perimeter and across the middle where needed. Use screws specified for plasterboard, and drive them only deep enough to hold the board without crushing its paper facing. Over-tightened screws create dimples that are difficult to repair.
Where no timber is available behind the patch, install small timber cleats inside the cavity, fixing them to the studs before placing the board over them. Hold the patch firmly in place while driving the screws so it cannot bow. For a substantial opening between studs, cut the board to fit and fix it directly to the framing instead.
Apply compound in thin layers
Mix joint compound or ready-mix plasterboard compound to a smooth, spreadable consistency. If using powder, add water gradually and follow the manufacturer’s ratio; too much water makes the first coat shrink. Use a flexible 150 mm blade for a broader patch and a smaller blade for edges and corners.
Apply a thin base coat, pressing material into gaps and feathering the edges onto the existing wall. Do not try to level the entire repair in one thick application. Let each layer dry before adding the next, scraping away high spots with the blade. Two or three modest coats usually produce a flatter result.
Drying time varies with the compound, room temperature and humidity. Humid conditions in Brisbane can extend the wait, while very dry air in Perth may form a hard skin before the interior is ready. Follow the product directions, improve airflow and avoid heating the wall aggressively to speed drying.
Sand, prime and complete the repair
Sand the dried compound with P120 or P150 grit, then finish with P180 to P220 if required. Work in circular motions, keeping the paper flat against the wall, and change abrasive sheets as they fill with dust. Check the repair under side lighting rather than using only overhead light.
Vacuum the dust, wipe the area with a slightly damp cloth and allow it to dry. Seal any remaining pinholes with a small amount of compound and sand those spots lightly again. Once the surface is smooth, apply a suitable plasterboard primer, especially if the patch will be painted with a different sheen than the old wall.
Allow the primer to dry, then repaint the patch with two coats of the same colour as the surrounding wall. A wallpaper or textured finish needs matching treatment rather than ordinary flat paint. If the hole is near a window and the glass itself is damaged, this guide to repairing cracked glass explains the separate glazing repair.
After the paint has cured, inspect the patch from different angles and check for recurring cracks, damp or soft edges. The next concrete step is to take a clear photo of the finished repair and file it with the paint tin and batch details for future touch-ups.