How to Clean and Maintain Your Lawn Aerator
A lawn aerator helps relieve compacted soil by creating holes that allow air, water and nutrients to reach grass roots. Whether you use a manual hollow-tine tool, a rolling spike aerator or a petrol-powered machine, regular cleaning and basic servicing will keep it working efficiently and reduce the risk of spreading weeds or lawn disease.
Australian gardens often face difficult soil conditions. Heavy clay in parts of Melbourne and Adelaide can become dense after rain, while sandy soils around Perth may dry quickly and need a different aeration schedule. Correct maintenance starts with choosing the right time to use the equipment, then cleaning it thoroughly before storage.
Choose The Right Time To Aerate
Aeration works best when the soil is slightly damp but not saturated. Push a screwdriver into the ground as a simple test: if it enters with moderate pressure, conditions are usually suitable. Muddy soil can smear inside hollow tines and create further compaction, while rock-hard ground may make the tool difficult to operate and put unnecessary strain on its parts.
Cool-season grasses are generally aerated during active growth in autumn or spring. Warm-season lawns, including couch and kikuyu, usually recover well when aerated during their growing period in late spring or summer. In Brisbane and other humid areas, avoid working immediately before several wet days, as open soil can remain waterlogged and encourage fungal problems.
Local watering rules should also influence your timing. During dry periods, councils and state authorities may restrict garden watering, so check current requirements before planning a recovery watering schedule. Aerating just before permitted irrigation can make better use of limited water.
Remove Soil And Plant Debris
Begin by disconnecting a powered aerator from electricity, removing its battery or turning off and cooling a petrol engine. Wear gloves and use a stiff nylon brush or plastic scraper to remove soil, thatch, grass and stones from the tines, wheels and underside. Do not use your hands to clear a jam while the machine is connected or capable of starting.
Hollow-tine machines need particular attention because plugs can become wedged inside the tubes. Clear them with a wooden dowel or the cleaning tool supplied by the manufacturer. Avoid forcing a steel rod through narrow tubes if it could scratch, bend or widen the opening. Rinse away remaining soil with a low-pressure hose, then dry every surface to prevent rust.
Take extra care when working on lawns treated with fertiliser, herbicide or animal products. Wash gloves separately and keep dirty runoff away from stormwater drains. If your council requires green waste or soil to be handled separately, follow its collection rules rather than placing large quantities into an ordinary garden bin.
Inspect Tines, Wheels And Fasteners
Once the aerator is clean and dry, inspect each tine for bending, cracks, excessive wear or a blocked opening. Spike tines can become blunt, reducing their ability to penetrate compacted ground. Hollow tines may wear unevenly and leave holes of inconsistent depth. Replace damaged components with parts approved for the specific model instead of modifying them to fit.
Check wheel bearings, axle points, height-adjustment mechanisms and handle joints. Tighten loose nuts and bolts, but do not overtighten fasteners that must move freely. A small amount of manufacturer-approved lubricant on pivot points can prevent squeaking and corrosion; keep oil away from belts, drive surfaces and soil-contact areas.
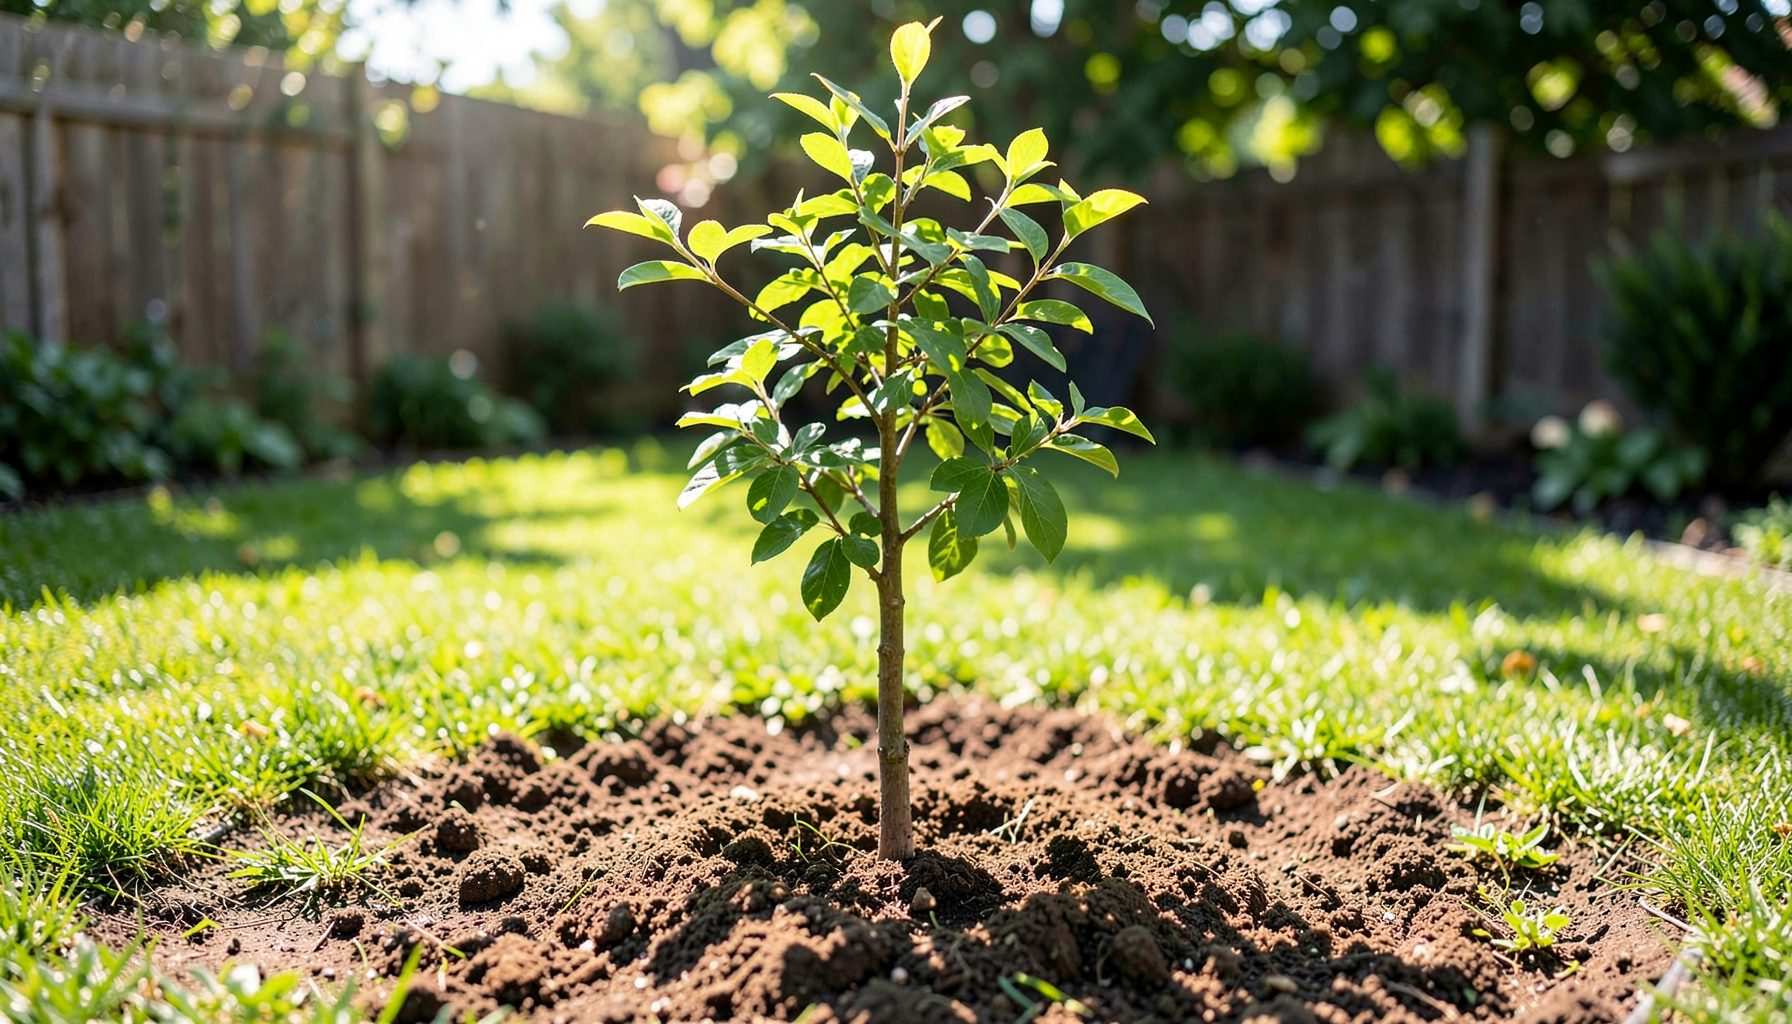
The inspection is also a good opportunity to check the lawn itself. Large roots, buried edging and hard landscaping can damage tines. If you are considering planting near an established aeration area, this advice on planting a tree safely is useful because future roots may alter where mechanical equipment can be used.
Service Powered Aerators Carefully
Petrol aerators need scheduled engine maintenance, including checking the oil level, cleaning the air filter and inspecting the spark plug according to the owner’s manual. Fuel left in the tank over long storage periods can degrade and cause starting problems. Use fresh fuel and stabiliser only as directed, and store petrol in an approved, labelled container away from living areas, ignition sources and children.
Electric and battery models have fewer mechanical tasks, but their cables, plugs, charging ports and housings still need inspection. Do not operate equipment with exposed wires, damaged insulation or a cracked battery case. Australian electrical safety requirements vary by state and territory, so use compliant products and a safety switch or RCD where recommended for outdoor power equipment.
For any powered machine, keep guards fitted and make sure the engine stops when the control is released. Never bypass a safety switch to save time. If the drive belt, clutch, gearbox or engine requires dismantling, follow the service manual or use a qualified repairer rather than experimenting with pressurised or moving components.
Prevent Rust And Cross-Contamination
After washing, leave the aerator in a ventilated place until it is completely dry. Wipe exposed steel with a light protective coating recommended for garden machinery. Do not apply thick grease to tines that will immediately enter the soil, as it can attract grit and make cleaning harder. Store manual tools off concrete floors, where condensation can form beneath metal parts.
Cleaning between lawns is especially important if you maintain more than one property or share equipment. Soil stuck to tines can carry weed seeds, grass diseases and pests from one garden to another. Brush off loose material first, wash the contact surfaces, disinfect them with a product suitable for garden tools, and allow the machine to dry before moving to a different lawn.
This habit matters in Australian conditions, where warm weather can help pathogens and weed seeds remain active for much of the year. It also protects lawns from accidental contamination after aerating areas near compost, pet runs or recently disturbed soil.
Store It For The Next Season
Storage preparation depends on the aerator’s power source. For a petrol model, clean the machine, follow the manual’s fuel-storage instructions and keep the tank and engine protected from rain. For a battery model, remove the battery, inspect it for swelling or damage, and store it in a cool, dry place at the charge level recommended by the manufacturer.
Hang manual aerators securely or place them on a stable rack so the tines cannot injure anyone. Keep powered equipment away from fertiliser, pool chemicals and damp garden corners. A dry shed with airflow is preferable to an outdoor area covered only by a tarp, especially in coastal cities such as Sydney or Newcastle where salty moisture can accelerate corrosion.
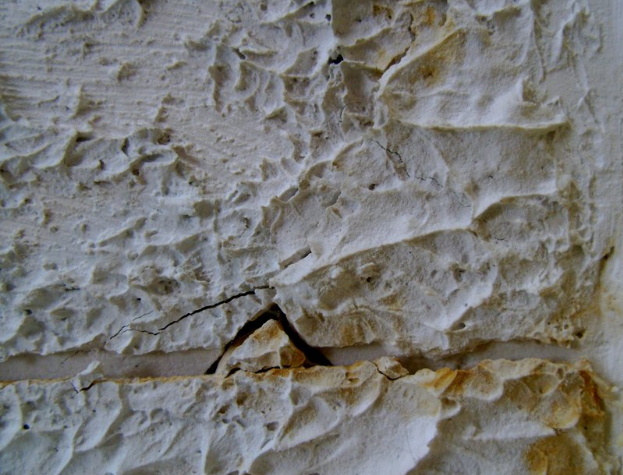
Before the next use, inspect the machine again rather than assuming it is ready. Confirm that all guards are fitted, fasteners are secure, tines are clear and wheels turn properly. If aeration has exposed a nearby path or driveway edge, repair surface damage promptly; guidance on concrete driveway cracks can help distinguish minor maintenance from a more serious structural issue.
A well-maintained aerator should leave clean, evenly spaced holes without excessive tearing. Avoid repeated passes over the same section, particularly on newly established turf or drought-stressed grass. After aerating, remove large soil plugs only if they are excessive; smaller plugs can break down naturally and return nutrients to the lawn. Finish by checking the equipment, recording any parts needed and cleaning the tines before putting it away.